So easy to install
Welcome to our simple guide to installing your new, peel & stick vinyl wall tiles. It is super easy to do, so have fun as you cut, stick and lock sheets together.
Before you Start
✔️ Know what surfaces are suitable:
- Plain Ceramic Tiles
- Painted Walls
- Melamine
- Stainless Steel
- Glass
- Acrylic
✔️ Are your surfaces and hands clean?
✔️ Go through your tool kit and make sure everything listed in this guide is there.
✔️ On a clean flat surface, test how to interlock the tiles. The wide grout line side interlocks with the side with less grout.
What you’ll need to install

Tools
Although you don’t need any special tools, there are a few things we think make the job easier when applying the peel and stick wall tiles:
- grease remover: Preparation is key. To clean your wall we suggest you use some form of grease remover: We recommend sugar soap to clean the surface properly before you start.
- craft knife: Use a craft knife with a sharp blade to cut the tiles to size.
- scissors: These will come in handy when cutting the tiles around curved shapes.
- pen: Use a pen or pencil to mark where to cut the tiles and to trace a guideline for your first row of tiles.
- craft mat: Use a craft mat or chopping board to protect your surface when cutting the tiles.
- metal edge ruler: Make sure your ruler has a metal edge to avoid it getting cuts from your craft knife.
- tape measure: Tiling equals a lot of measuring. A tape measure is ideal to have for your project.
- level: Use a level or plain to mark out a guideline for your first row of tiles. If you get the start right, the rest of the tiles will follow in a straight line.


2. Measure and mark
Draw a leveled line on the wall so that the tiles can be positioned in a straight line.
Tips! Before you start your installation. Take out all the tiles from the package and try their interlocking position on a clean flat surface. Make sure that you know which position to stick the tiles in place. All tiles have one side with a wider grout line and one side with less grout. Always position the tiles in the same direction or else you'll end up with small gaps.


6. Stick
Align the tile on the wall. When you are happy with the positioning, peel away the remaining part of the backing paper whilst keeping the tile in the correct position. Press firmly on the tile to smooth it down. Start from one end and work your way out to the edges to make sure all the air is removed.
Please note that the 2.5mm Premium Tiles and the black glossy 2mm Quality Tiles have a transparent protective paper that needs to be removed.

7. Interlock
All the tiles have one side with a wider grout line and another side with less grout. Make sure you always position the tiles in the same direction, or else you will end up with gaps between the tiles.
Butt join the rest of the tiles like a jigsaw puzzle, leaving no gaps between the tiles. We recommend that once you've found the correct interlocking position, give the tile an extra little push towards the tile it interlocks with before removing the rest of the backing paper. Skipping this step could lead to small gaps between the tiles showing the underneath surface.

Tips & Enjoy
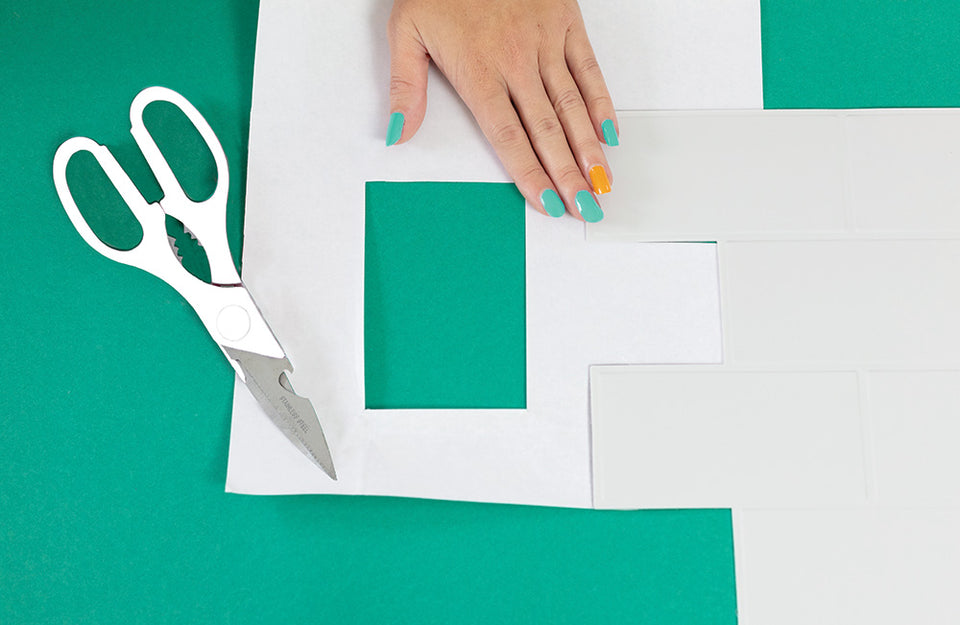
Cutting around sockets
Cutting around sockets and other obstacles can be a bit of a challenge. But with these top tips we know you will do great. We recommend the following:
- reuse a backing paper from another tile
- hold it up against the socket in the right tile position
- trace a line with a pen
- cut the packing paper
- control check with the backing paper and make any necessary adjustments
- position the backing paper over the next tile and transfer the lines and cut
- control check the size of the cut tile and position when you are happy with the outcome
Tip! It is always better to cut off less, control check and cut a few extra times than to waste a tile by cutting too much off at once.

Frame it
Complete your DIY project with an edge trim.
- cut the edge trim at a 45° angle to make a neat corner.
- peel off the protective tape from the back of the edge trim
- press the edge trim firmly onto the wall to make sure proper adhesion.
Tip! The edge trim has a natural bend. Before you start, roll the edge trim in the opposite direction from how it's been packaged to offset its tension a bit. This will help the strip to stick properly.
Enjoy!
Stop and stare. Your project is now complete and ready to impress your mother in law. No matter if you intend to climb the property ladder or pimp up your van or achieve any other outcome, we hope our instructions helped you stick it!