


Use our clever tile calculator and remove the guessing game of how many packs you require for your DIY project. Just follow these easy steps:
- Divide the area you want to cover in rectangular sections as pictured. Make all measurements in mm.
- We recommend to add a minimum of 10% wastage to your order. Select your wastage from the drop down menu. As a rule of thumb larger tiles and a more geometric look (e.g. the herringbone tiles that interlocks both horizontally and vertically) require a higher waste percentage.
- The calculator base the calculations on the tiles being applied in the direction as pictured of the hand holding the tile. If you intend to position your tiles in the opposite direction, simply swap width with height.

Phew! That number crunching was an exhausting exercise. (We hope we got it right!!)
Now it's up to you mate. You get the easy part and all you need to do is just to stick them to your wall (with the guidance of our awesome instructions of course).

Boring but required facts | 2mm Quality Tiles:
- We always say if you are going to do a job well then it’s worth doing it properly! And at the Peel & Stick Hub we have designed our wall tile packs to give you just the right amount of tiles for your job. On average most jobs require a couple of packs of tiles so bare in mind that our packs contain 4 sheets of tiles.
- You may be wondering how you calculate how many packs of tiles you need. Don’t stress it, our handy calculator above is designed to quickly find out approximately how many tiles your project requires. Of course you still need to measure the surface you intend to cover in mm but this should really help and make the buying process easy! Plus we have some super saver bundles so make sure you check these out!
- When it comes to installation - don’t be a ‘know it all’. Read our full installation guide here. If you skip this step your project may not look top notch and you certainly won’t give us a 5 star review that we so desperately want. Do us both a favour and check out the guide!
- One of the positives to our wall tiles is that they are easy to install as they are self-adhesive. For anyone wondering, this means they have a sticky back and can just be stuck to a wall. That’s right; peel off the backing paper and stick them to your wall like a jigsaw puzzle. No extra glue is required and definitely no grout or tradesmen. The tiles can be installed by you or by any friend or family member you wish to bribe.
- The tiles are 30.5cm x 30.5cm and a whopping 2mm thick! That is thicker than any other low budget peel and stick tile on the market. Why so thick? Because they hide imperfections better!
- The tiles are hard wearing and scratch resistant and if we're getting technical they are made with a PET substrate. Wait, PET what? - It just means that these tiles won’t turn yellow from the sun or be scratched from cleaning. They’ll stay up until the day you decide you want to jump on the next trend. As an added bonus; the backing paper is degradable.
Happy peel and sticking!
More Info - 2mm Quality Tiles
suitable surfaces
- Tiles
- Painted Walls
- Melamine
- Stainless Steel
- Glass
- Acrylic
specifications
Size: 30.5cm (W) x 30.5cm (H) x 2mm (T)4 sheets of self-adhesive wall tiles
Material: Peeling back sheet, Premium EVA foam adhesive tape, Image printing PET substrate, scratch resistant PET substrate

Customer Reviews
We have a gas fireplace in our house that has a concrete surround (which was painted white). I have wanted to tile it for a long time, unfortunatley real tiles just weren't in the budget, so I thought I would give stick on tiles a go. Initially I purchased K-Mart stick on tiles, however the quality was poor and they started peeling away almost immediately. They also had a sticky surface which attracted dust and dirt. So I thought I would give these tiles a go - and what a difference! I could tell straight away the quality was much better and I am SO happy with the end result! They were very easy to cut and install and the end result is amazing. They look like real tiles and I couldnt be happier with how it looks now. I have had so many comments from friends and family about how awesome it looks (and how real they look too). Couldnt be happier and would absolutely recommend this product - great quality product, very easy to use and they look amazing!


Installation Guide
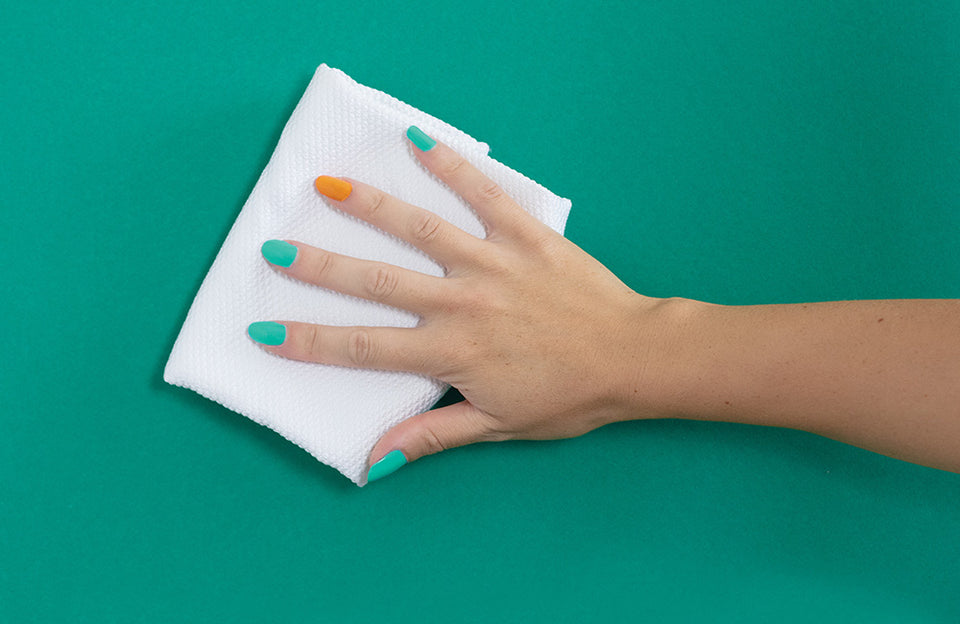
Clean: Clean the area you wish to renovate with a degreaser and let dry.
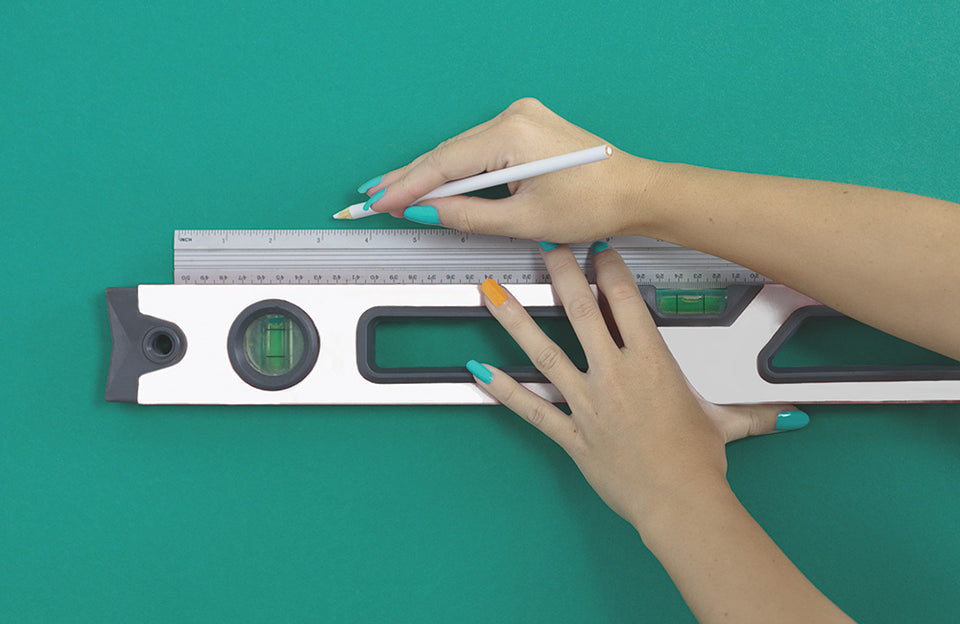
Measure: Measure the area you are tiling correctly and mark guidelines on the wall ready for installation.
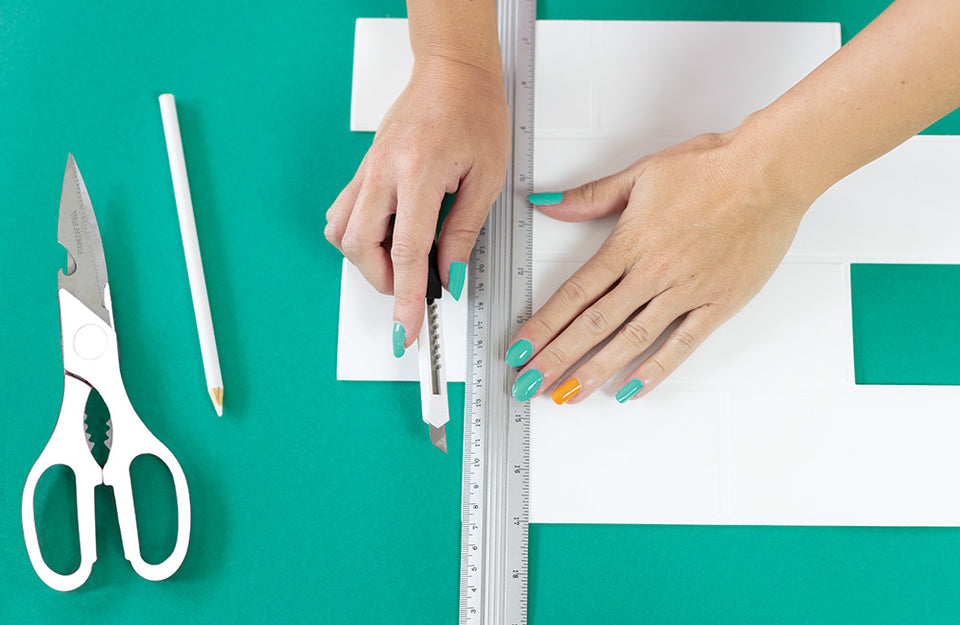
Cut: Mark the backing paper of the tiles using a ruler and pencil, then cut using a craft knife.
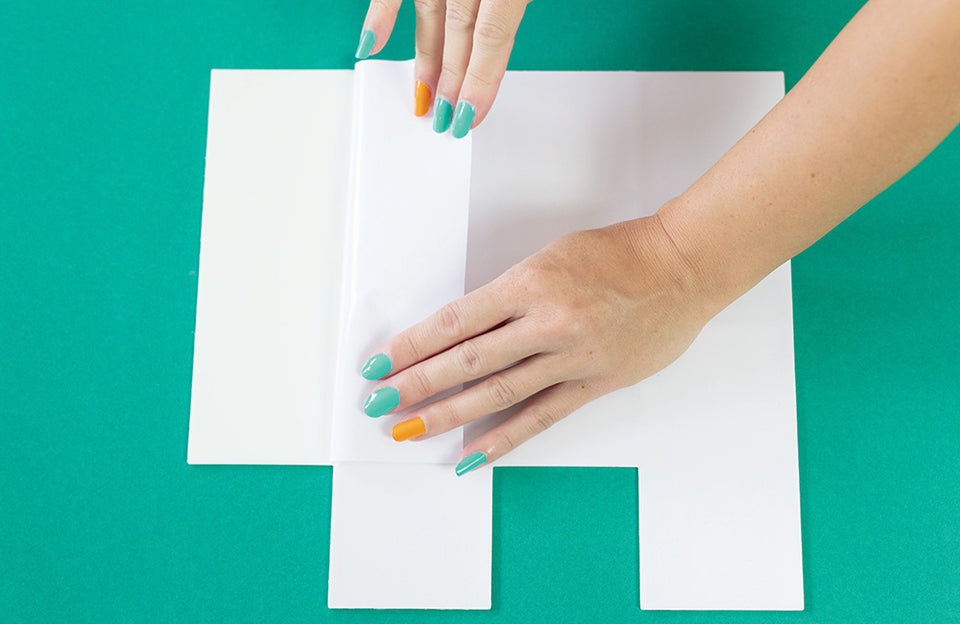
Peel: Remove a small section of the paper backing and align the tile on the wall. Once in place remove the remainder of the backing.

Stick & Interlock: You will need to butt join the tiles like a jigsaw puzzle. Once in place, press the tiles down firmly allowing the glue to bond with the surface.
For optimal installation see our full FAQs and How to Install guide.